I thought I was on a different planet the first time we visited Joshua Tree National Park (JTNP). The giant rock formations and the silence of the desert were something that I hadn’t experienced until then.
This past Thanksgiving was our third time visiting JTNP in 5 years. We planned to enjoy the Thanksgiving holiday by hiking a few new spots and revisiting a few of our favorite hiking trails. We ended up hiking 15 miles over three days.
Our 3-Day Joshua Tree National Park Itinerary
We got in late on Wednesday, and we were meeting company on Thanksgiving, so, we made our first day in JTNP a shorter day of hiking.
Here is what we covered in 3 days of hiking in Joshua Tree.
Day 1 (Thanksgiving Day)
- Barker Dam, 1.1 miles
- Hidden Valley, 1 mile
Day 2 (Friday)
- Ryan Mountain, 3 miles
- Skull Rock, 1.7 miles
- Split Rock Loop, 2.5 miles
Day 3 (Saturday)
- Willow Hole, 7.2 miles
Is Three Days Enough For JTNP?
We covered about 15 miles over 6 trails in 3 days. We hiked similar distances on prior trips.
Three days give you enough time to enjoy Joshua Tree National Park fully.
You could easily spend an entire week there bouncing in and out of your hotel, Airbnb, or campsite if you wanted to.
8 Great Joshua Tree National Park Hiking Trails
JTNP is a beautiful park. You can’t go wrong with any trail (unless you go off-trail and get lost).
While we only hiked 6 trails this last time at JTNP, we did hike Lost Horse Mine and Cholla Cactus Garden during our past visits and I included them here as well.
I used the hike type, estimated time, and distance that the National Park Services (NPS) website published in my below reviews of the hikes. Frequently we came in under the NPS distance when we tracked the hike with our iPhone apps. I guess the NPS rounds up for safety reasons.
We spent additional time on longer trails, taking lunch breaks, and taking pictures, so the time we took hiking the trails doesn’t necessarily map to the NPS’s estimated time. Additionally, we get lost in the moment and forget to track our time on many trails. I think that is a good thing.
Cholla Cactus Garden

Hiking Cholla Cactus Garden: What You Need To Know
- Difficulty: Easy
- Hike type: Loop
- Distance: .25 miles
- Estimated Time: 15 – 30 minutes
- Our Highlight: So many cholla cacti in one place
Pictures of Cholla Cactus Garden
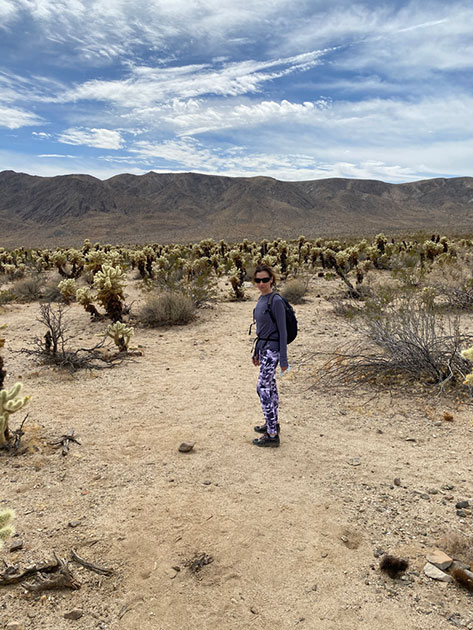

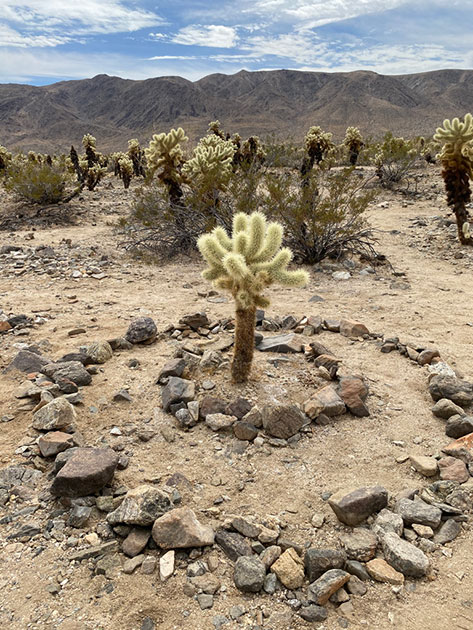
Our Experience Hiking Cholla Cactus Garden
Cholla Cactus Garden is more of an exhibit in Joshua Tree National Park than it is a proper hike in the desert. It’s a very unique part of the park and it takes effort to get to as compared to all of the other hiking trails on this list.
We stopped at Cholla Cactus Garden on our way out of JTNP when we took Pinto Basin Road towards Palm Springs via Highway 10 to get back to home in San Diego. I would do that again, but I wouldn’t go out of my way to visit Cholla Cactus Garden.
Barker Dam
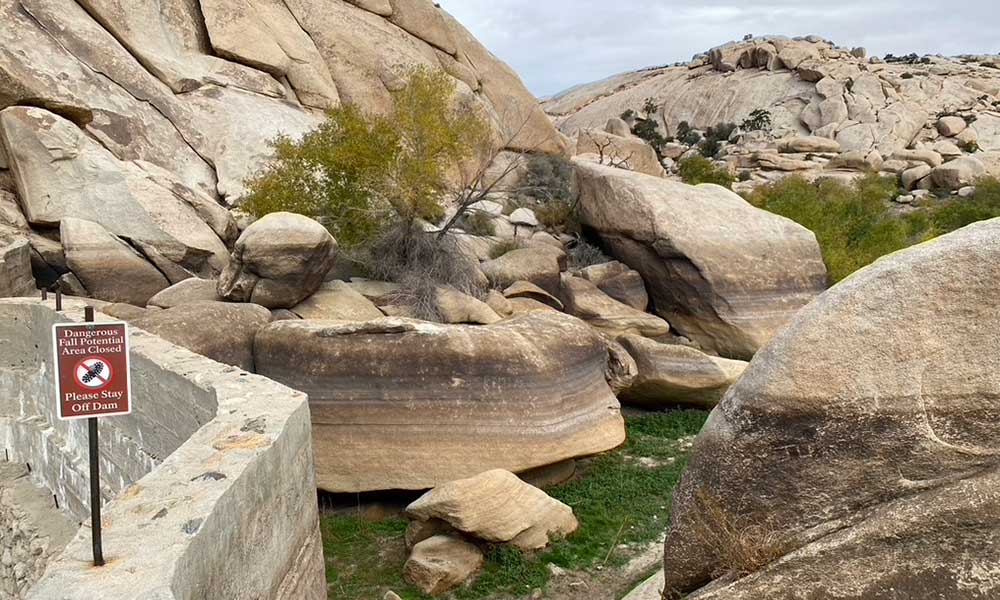
Hiking Barker Dam: What You Need To Know
- Difficulty: Easy
- Hike type: Loop
- Distance: 1.1
- Estimated Time: 1 hour
- Our Highlight: The petroglyphs (Look for the sign)
Barker Dam Pictures
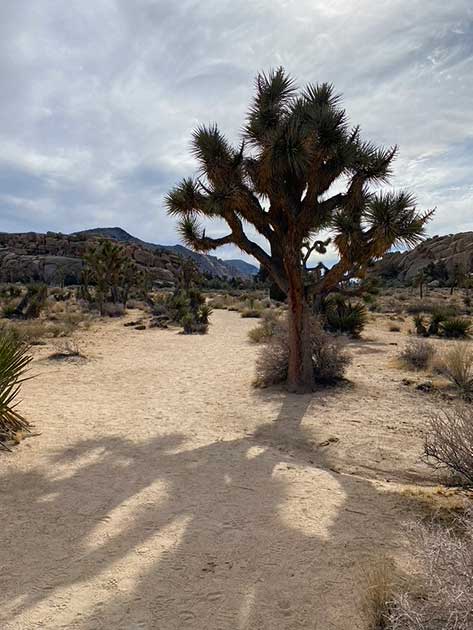
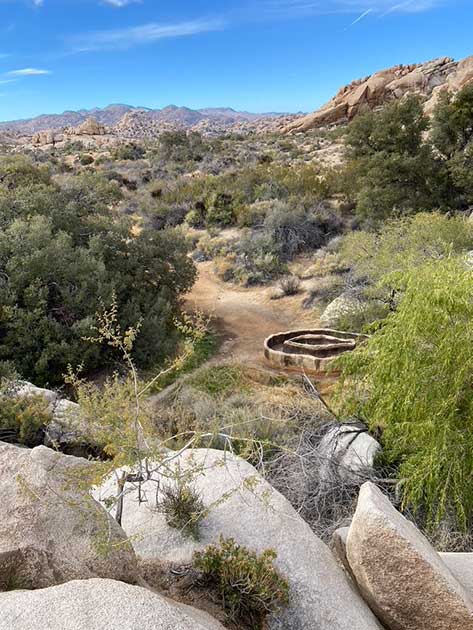

Our Experience Hiking Barker Dam
This was our first hike when we got to Joshua Tree this year. We wanted to acclimate to the park with an easy hike. Also, we didn’t have a lot of time on our first day, so Barker Dam did the trick.
We heard that local wildlife visited the dam at dusk. We were there too early and the number of people on the trail would deter any smart desert critter. Hiking the trail closer to dusk with fewer people around would have been better if we had planned it. Next time.
This trail is suitable for younger hikers and can get very busy. Be sure to do the loop and look for the sign for the petroglyphs, which is also your turning-around point to head back to the parking lot.
Hidden Valley
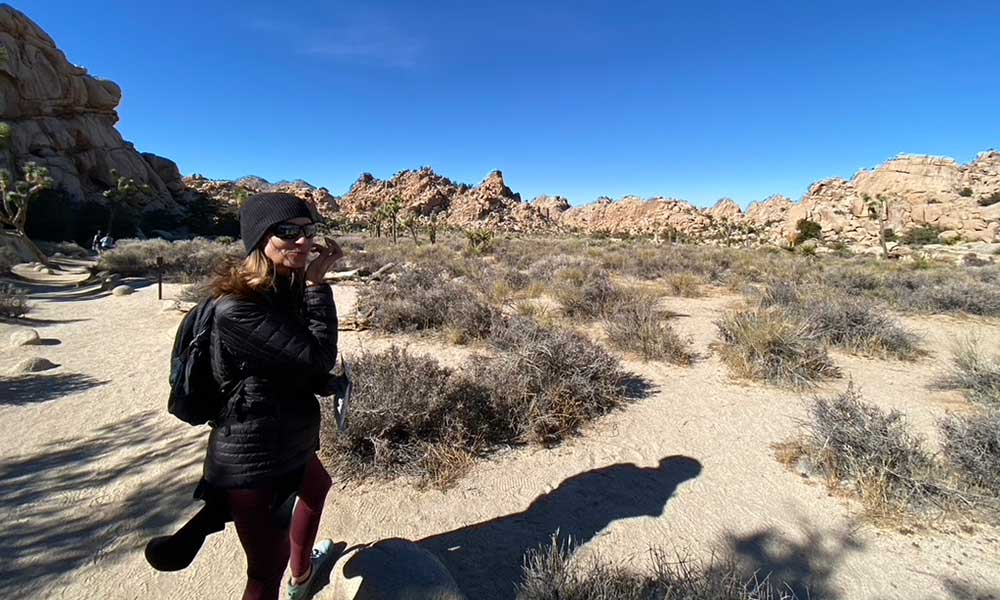
Hiking Hidden Valley: What You Need To Know
- Difficulty: Easy
- Hike type: Loop
- Distance: 1 mile
- Estimated Time: 1 hour
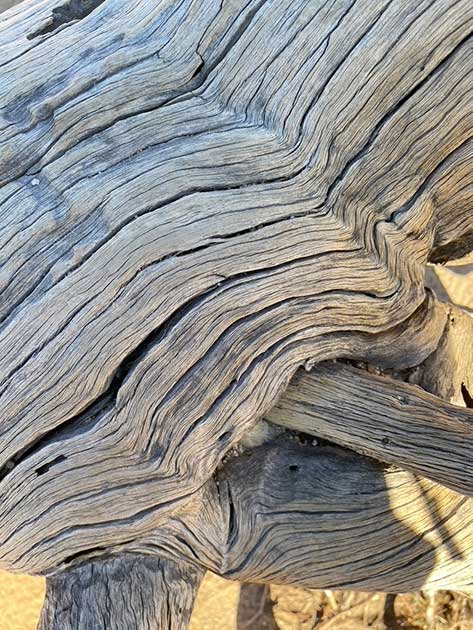
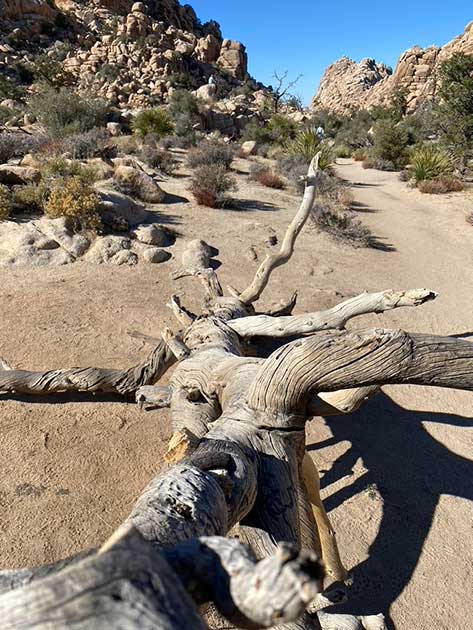
- Our Highlight: Hiking in the rock-enclosed valley was a unique experience.
Hidden Valley Pictures
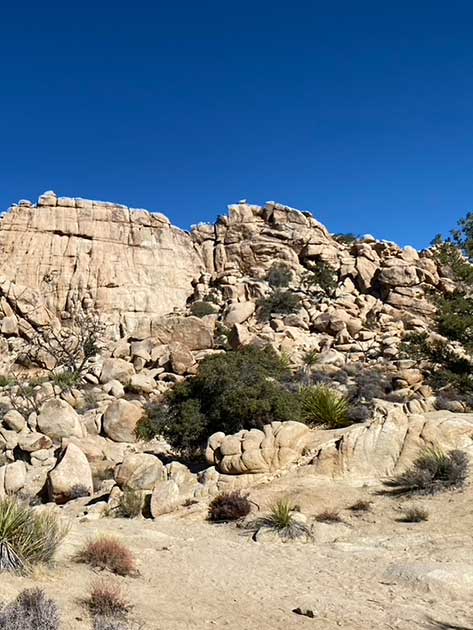
Our Experience Hiking Hidden Valley
The wind and the shade we experienced hiking on the left-hand side of Hidden Valley made this the second coldest hike, second only to Ryan Mountain. Be prepared to layer up and then strip down a bit as you make your way back to the parking lot.
This trail and parking lot can get busy given the accessibility of the trail, the low difficulty, and the short distance.
Split Rock Loop
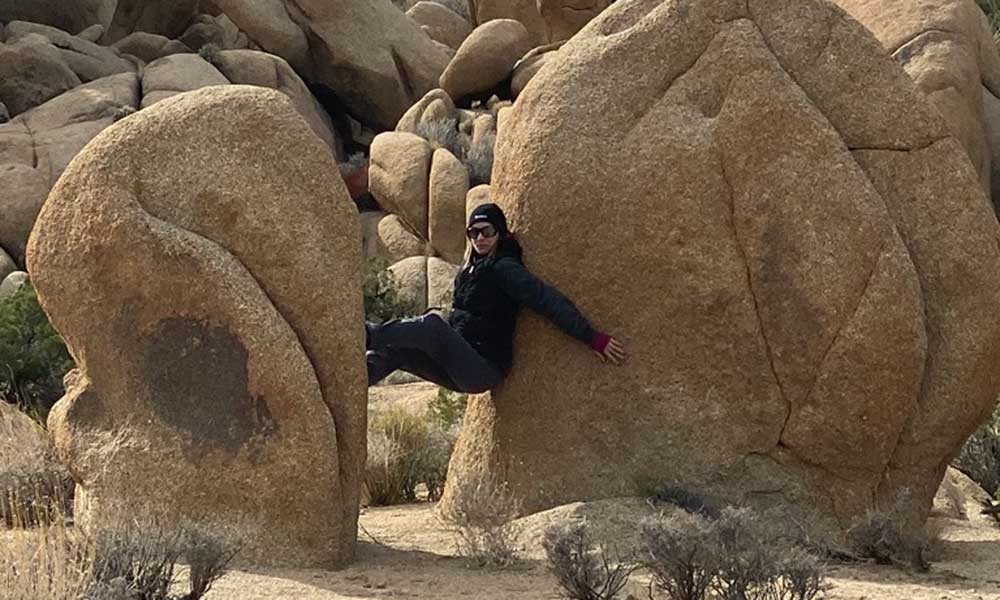
Hiking Split Rock Loop: What You Need To Know
- Difficulty: Moderate
- Hike type: Loop
- Distance: 2.5 miles
- Estimated Time: 1.5 – 2.5 hours
- Our Highlight: The back half of the trail that ends near the bathroom has some great landscapes and can watch rock climbers scale the rock faces.
Pictures of Split Rock Loop
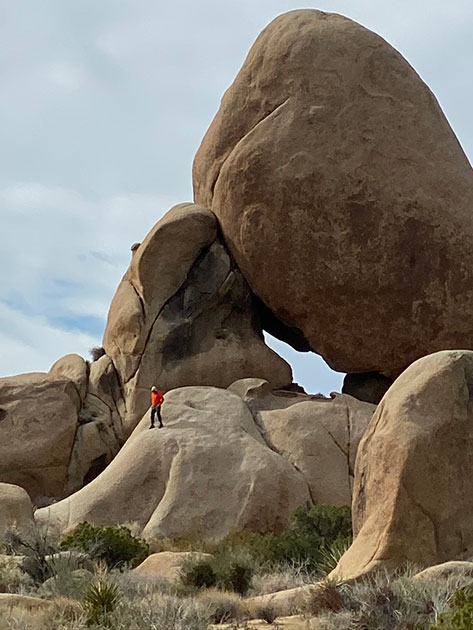
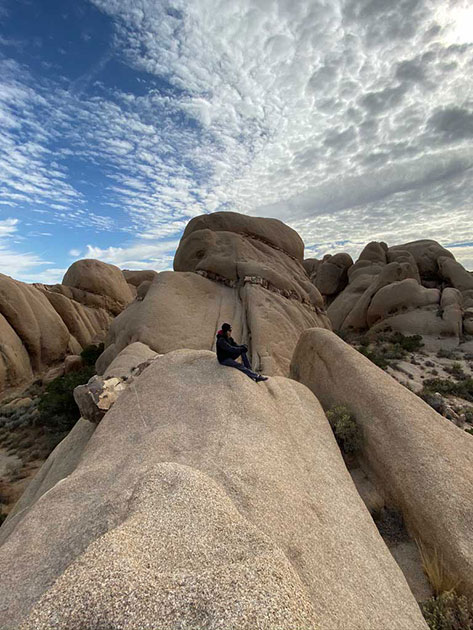
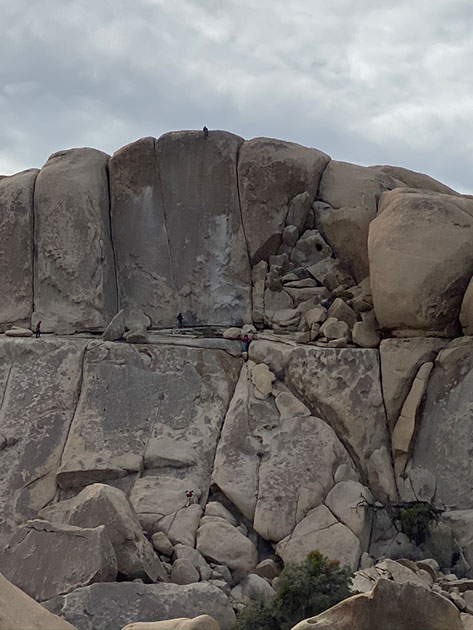
Our Experience Hiking Split Rock Loop
The sign at the end of the trail read “2 miles” despite what NPS states on the website. Either way it is a great hike and is marked reasonably well. When we did go off the trail, it was easy to correct, given that there were enough people hiking on the correct trail and there was plenty of sunlight to help us navigate.
I think thee split rock is to the right of the trail at the beginning of the trailhead that is at the end of the parking lot. I haven’t actually verified which rock is thee split rock.
The first half of the hike is in a bowl of a valley. You wind around to your left (assuming you started at the trailhead at the end of the parking lot and not the trailhead by the bathroom) with gorgeous views of Joshua Tree National Park. As you round your way to the left about 45 minutes into the hike you are met with some unique and impressive rock formations. Some are small in scale compared to their neighboring rocks and are a lot of fun to scramble up. There are other rock faces that are great for rock climbing if that is your thing.
Skull Rock
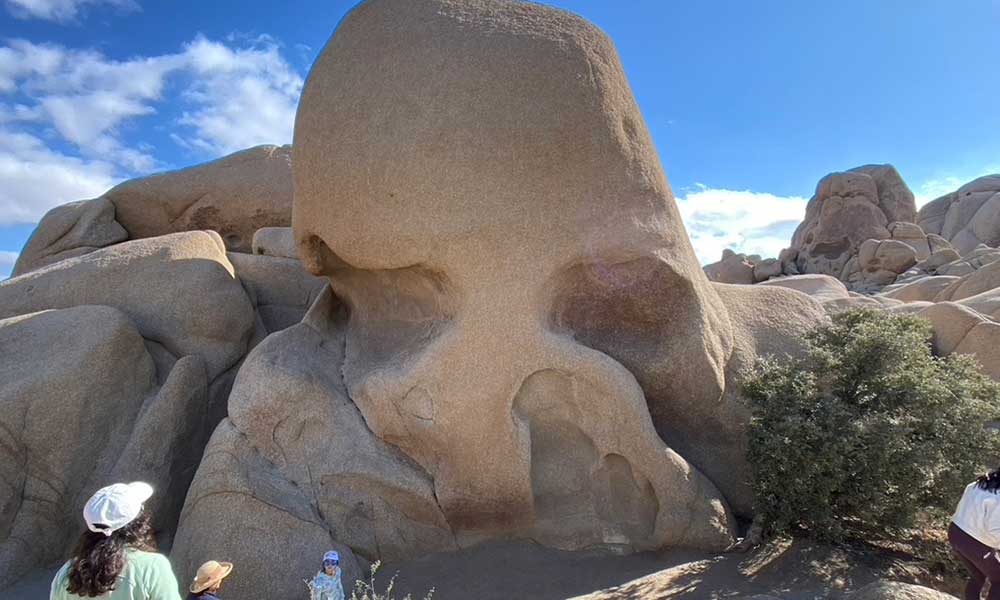
Hiking Skull Rock: What You Need To Know
- Difficulty: Easy
- Hike type: Loop
- Distance: 1.7 miles
- Estimated Time: 1 – 2 hours
- Our Highlight: There is a lot of bouldering to be had just feet away from where you park.
Pictures of Skull Rock
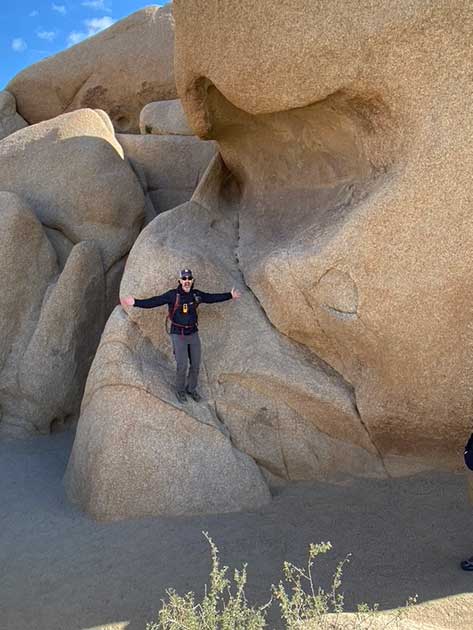


Our Experience Hiking Skull Rock
A cautionary tale: We hiked Skull Rock a few years ago for the first time and intentionally went off trail, heading to the outback in the opposite direction of Park Blvd with the Skull Rock at our backs. It looked like it would be easy to go straight out and come straight back. It didn’t workout that way and we ended up on Pinto Basin Road on our way back.
We walked A LOT that day. Whatever you do, stay on the trail. If you want a longer hike into the outback, hike Willow Hole.
You can also just enjoy the Skull Rock hike and the immediate area. It’s beautiful and very accessible.
Lost Horse Mine

Hiking Lost Horse Mine: What You Need To Know
- Difficulty: Moderate
- Hike type: Out and Back
- Distance: 4 miles
- Estimated Time: 2 – 3 hours
- Our Highlight: The rusted-out car, the old mine, and the Worth Bagley Stone sign.
Pictures of Lost Horse Mine
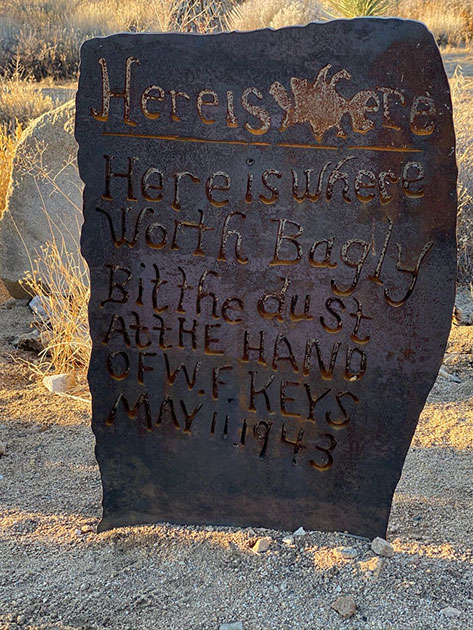
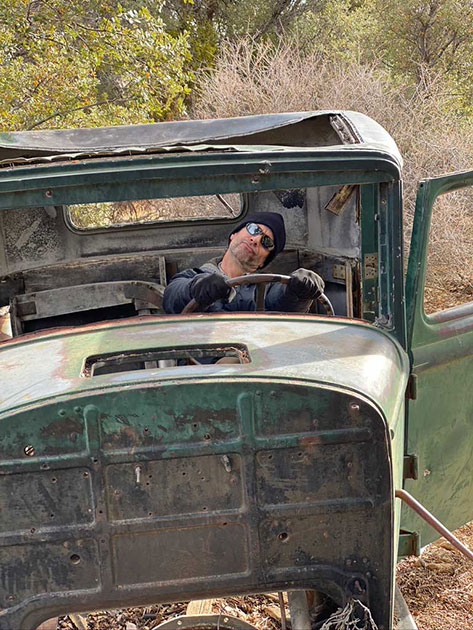

Our Experience Hiking Lost Horse Mine
We hiked this one trail on a cold day in Joshua Tree National Park. The trail was flat and we had to navigate some vegetation that made the trail challenging to follow in a few spots but were able to reconnect with the trail fairly easily.
The trail itself wasn’t all that impressive compared to other trails in JTNP, but the payoff of seeing the mine, the rusted-out car, and learning about Worth Bagley made it worth it.
Willow Hole

Hiking Willow Hole: What You Need To Know
- Difficulty: Strenuous
- Hike type: Out and back
- Distance: 7.2 miles
- Estimated Time: 4 hours
- Our Highlight: Walking deep into the backcountry on a well-marked path. That’s where you can avoid crowds and feel the silence of the desert the best.
Pictures of Willow Hole

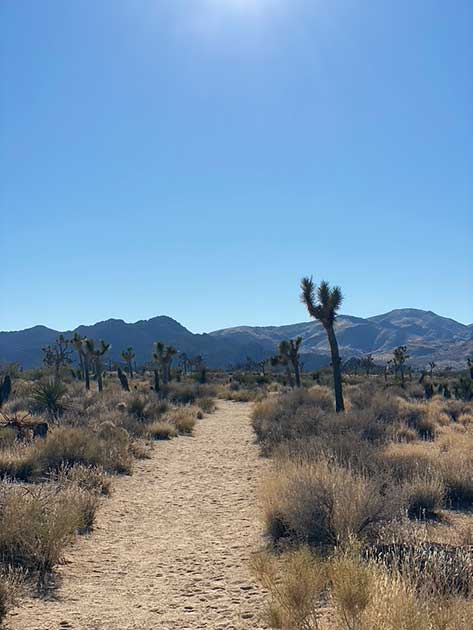
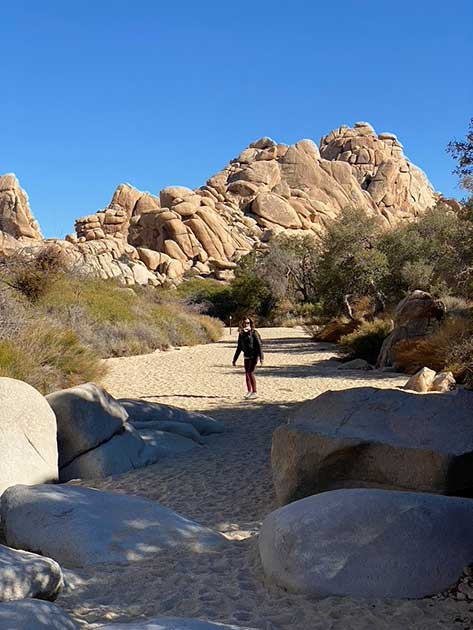
Our Experience Hiking Willow Hole
Willow Hole is one of our new favorite trails in Joshua Tree.
You will need to park at the Boy Scout Trailhead parking lot and take the Boy Scout Trail which will eventually fork left to Boy Scout Trail and right to Willow Hole. The Willow Hole Trail is well-marked the entire way.
There are two different landscapes you will encounter on this trail. The first 60 – 70% of the trail is flat desert as you head towards the backcountry. The terrain morphs into sandy soil which is more demanding on the calves, and you are rewarded with impressive boulder landscapes on both sides of the trail at the same time.
I thought my calves would be sore the next day but they weren’t. This was the last hike we did on the last of 3 days and we called it quits after this hike. We estimated that we hiked about 15 miles in 3 days and decided that hitting the jacuzzi back at the Airbnb was better for our bodies than another hike.
Timewise, it took us the estimated 4 hours to get out and back on the Willow Hole trail.
Ryan Mountain
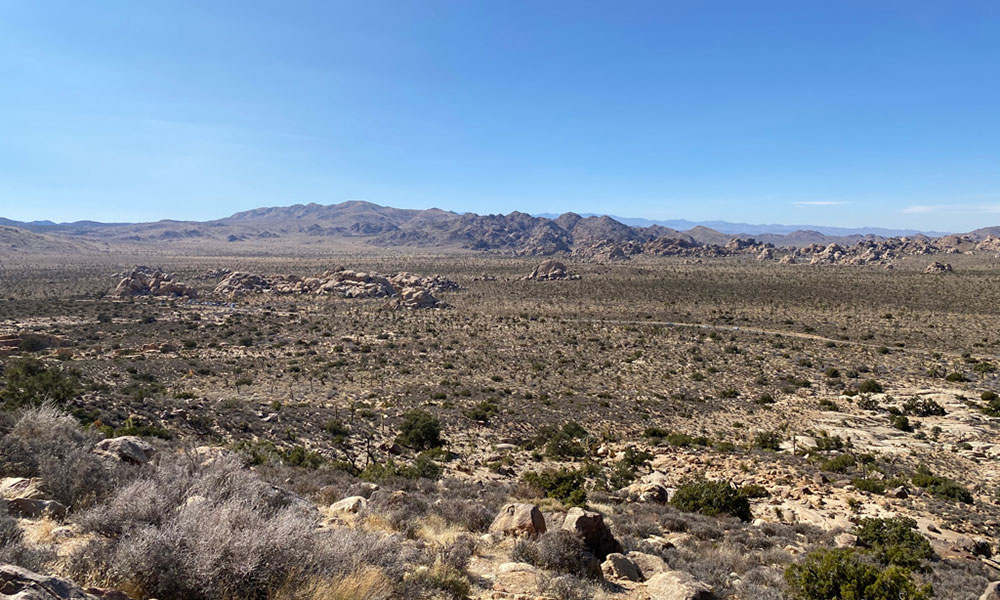
Hiking Ryan Mountain: What You Need To Know
- Difficulty: Strenuous
- Hike type: Out and back
- Distance: 3 miles
- Estimated Time: 1.5 – 2.5 hours
- It took us 1 hour to get to the summit and 40 minutes to get back to the parking lot.
- Our Highlight: The 360-degree view of JTNP at the summit of Ryan Mountain.
Pictures of Ryan Mountain


Our Experience Hiking Ryan Mountain
The hike at Ryan Mountain starts off doing its best impression of a StairMaster, smooths out for a bit, then more StairMaster just as your legs star to recover from the first stretch of steps, which is followed by steady ascending the mountain for the duration of the hike. You climb a total of 1K feet and summit 5,400 feet above sea level. You are rewarded with a 360-degree view of Joshua Tree National Park.
Ryan Mountain is one of our favorite hikes in Joshua Tree. It’s also the most challenging and rewarding hiking trail we have hiked in the park.
Winter Hiking in Joshua Tree National Park
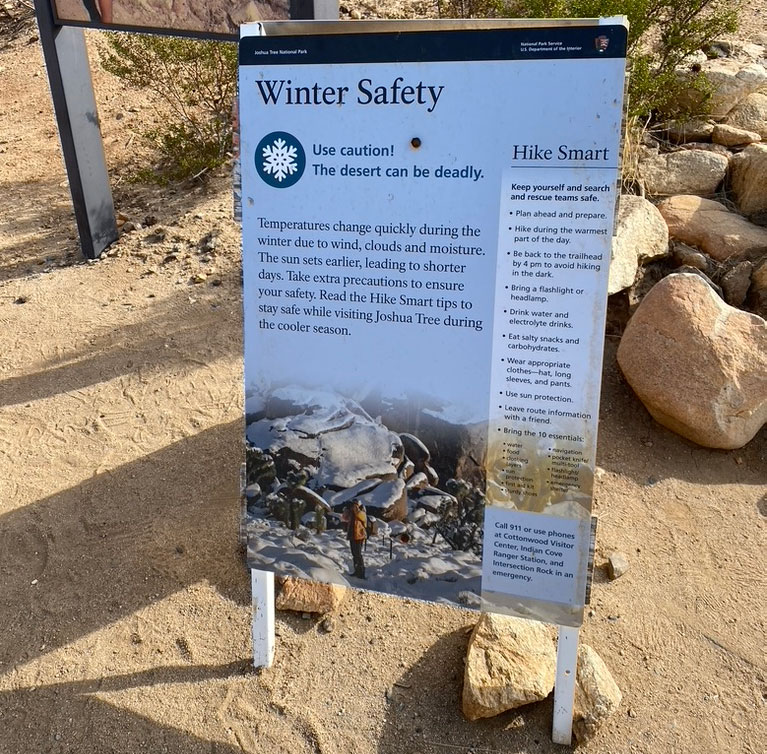
The best way to avoid bad situations it to be prepared and to have a plan for a safe return. The guidance below should help you enjoy hiking in Joshua Tree during the winter and colder months. These are the considerations that kept on showing up for us.
- Be sure there is enough sunlight. Plan to finish your hike 1 hour before the sun starts to go down.
- Wear layers and plan for the wind. You will get cold. Then hot, then cold. You get the point.
- Have your hands free in case you fall.
- Use a backpack.
- Wear gloves and a hat that protects your ears from the wind and cold. Don’t wear a hat that the wind will blow through.
- Bring enough food & water for each hike in question.
- Bring shelter if you can. People have gotten lost in JTNP and didn’t come back. Which brings us to …
- Don’t go off trail.
- Don’t hike alone.
- Return to the trailhead before you get physically exhausted. Having 20% left of your metaphorical gas tank when you finish your hike is a good goal.
Here’s the sign that JTNP puts out at trailheads to help people stay safe in the park.
Where To Stay In Joshua Tree National Park
You have your pick of hotels and Airbnbs. You can also camp in JTNP.
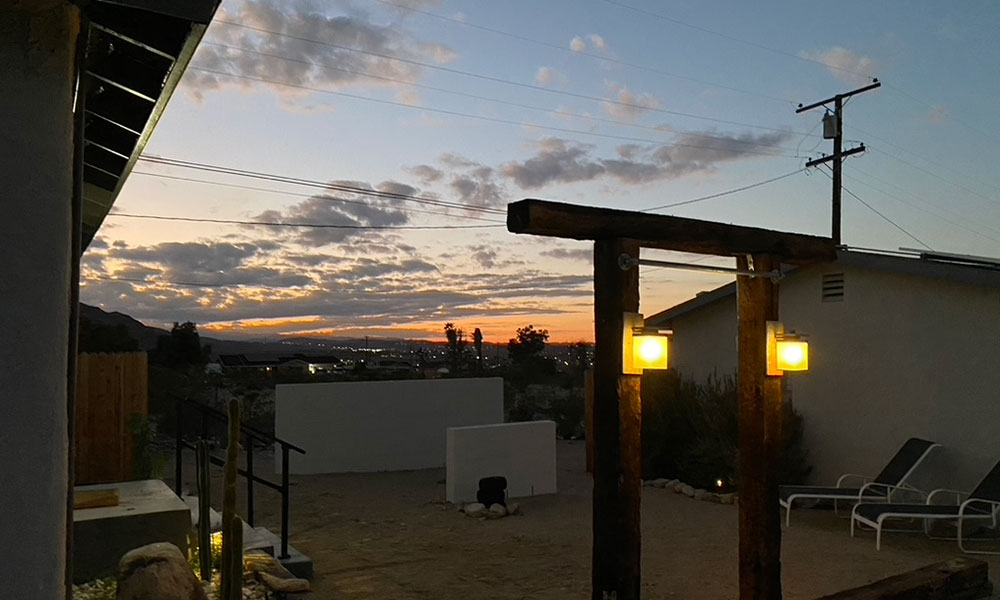
We stayed at an Airbnb all three times we visited Joshua Tree. You can find a place with 2 bedrooms and a jacuzzi easily. The jacuzzi comes in handy after a few days of being on your feet and lugging around a backpack.
You can stay in Twentynine Palms, Yucca Valley, or Joshua Tree. They are all a quick drive to the park.
We prefer to stay in Twentynine Palms since it is closest to the park entrance off Utah Trail. It is also the most underdeveloped town of the three.
We bring our own food and water and are as self-sufficient as we can. We packed what we could in the car and shopped at Vons in Yucca Valley to supplement anything we didn’t pack.
Summary
Joshua Tree National Park is a great place to hike for families, couples, and serious outdoorsmen. Spending 3 days there is enough to get the full experience of the park. Get some jacuzzi time to help your body recover and have fun!

